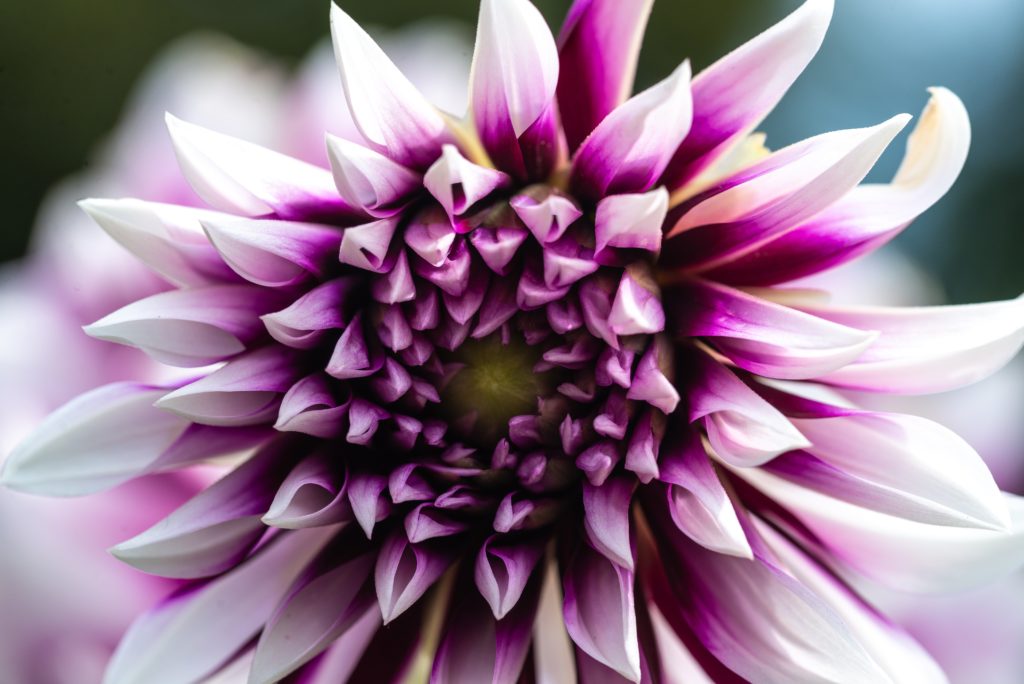
When I first moved to California, I didn’t understand the rampant obsession with dahlias on the West coast. To me, dahlias just seemed too obvious a flower. Too decadent and showy.
 Fast forward seven years, and I now grow about 500 dahlias every season. I can’t seem to get enough! Here in mid-October, we’ve narrowly escaped a killing frost the past couple of nights and the dahlias are still pumping out blooms. They’re in fact loving the cooler weather, and the blooms seem much happier, more prolific, and more robust now that the summer heat has passed.
But any day now, a killing frost will hit and the dahlias will be toast for the season. Some people in Northern California leave their dahlia tubers in the ground all winter. This can work really well in some locations, but my farm is just too wet and I fear the tubers would rot. So I dig them up each fall, which also allows me to divide them and really expand my tuber stock each year.
If you’re new to digging dahlias, there are a few things to keep in mind. The first is that it’s really important to make sure your dahlias are labeled before the frost comes and kills them. If you care at all about what colors and varieties you want to save, you can’t afford to miss this step. I use simple flagging tape with the varieties scribbled in permanent marker. I make sure to tie the tape tightly to the bottom of the stock so that it won’t fall off.
 After one or two frosts, or in mid-November (whichever comes first), it’s time to cut the dahlias down completely, leaving just a few inches of the main stock sticking out of the ground. This signals to the plant to stop growing, and instead to start curing and getting ready for winter. You can then just forget about the dahlias for a week or two, and leave them in the ground to cure some more.
When a week has passed, or right before any predicted rain, it’s time to dig. Depending on how heavy your soil is, you may choose to use either a digging fork or a shovel. I find that a digging fork is a bit easier. I try to start digging a semi-circle about a foot away from the plant so as not to damage the tubers. It’s not the end of the world if you do stab them, but a little extra care can go a long way.
 Once you’ve freed the dahlia from the soil, you can simply brush off any excess dirt, let them air dry for a few hours (up to a full day if they’re sopping wet), and then stack in milk crates. I choose to add some wood chips or animal bedding in order to absorb any extra moisture. Your dahlias can then be stored in their crates in a cool, dark location for the winter. It’s worth checking in on them every month or so to see if they’ve gotten too dry or too wet, I sometimes need to either spray a bit of water on the crates or scrape off a bit of mold, depending.
In a future post, I’ll detail how to divide your dahlias before planting in the spring. But for now, it’s back out into the field to keep labeling the plants! Good luck out there!


 Family

