It’s that time of year when we’re all reflecting on our gardens from the summer, and beginning to dream and even plan for next year. As we pull out half-dead tomato vines, prickly cucumber plants and tall tree-like sunflower stems, all the memories of the crops come flooding back. What were your favorites? What could you do without?
For me, it’s also the time of year when seed catalogues start coming in the mail. For my flower farm, I rely heavily on Baker Creek Heirloom Seeds and Geoseed, whereas for my vegetables I like to also order from Johnny’s Seeds. In addition to buying them new every year, I also try to plan strategically and save some of my own seeds. For me, this means choosing open-pollinated seeds that are either 1) particularly easy to save 2) are hard to find 3) cost a lot of money, or 4) are rare and/or tricky to find.

How many of you at home are saving seeds? In my experience, it seems as if some of us never even thought of it, while others have grown up saving seeds as an integral part of keeping their own garden. For those in the first camp, let me wax poetic on the process.
I didn’t fully appreciate the life cycle of plants until I started growing flowers. In vegetable farming, we dreaded that moment when the plants – lettuce or parsley or mustards – would ‘bolt’ (prematurely run to seed, the sign that the vegetative growing phase was over). As soon as that happened and often earlier, we would rip the plants out to make room for the next. But in flower farming, every day we’re coaxing the plants along to set them up for a smooth transition to this phase of blooming flowers right before setting seed. Watching these plants grow gave me an appreciation and a more complete understanding of the process as a whole, and the delicate stages of life in particular.
Growing plants with an eye towards seed saving is much the same. Here are some notes to get you started.
Harvesting and Cleaning: Dry Seeds
There are two main categories of seeds when viewed through the lens of seed saving: those with seeds that are dry when mature and those that are wet when mature. Dry seeds are a little more self-explanatory and include seeds found in peppers, beans, carrots, celosia, sunflowers, and onions, among many others.
To harvest, wait until many seeds have formed and, in many cases, turned a bit brown in color. Some plants, such as beans, make it easy – you can tell when the pod is dry and brown and the seeds shiny and hard. With other plants it’s a little trickier and you have to do some comparing between different seeds to be able to tell which ones are ready.
Although the process differs between different plants, the generalities are the same. Pull off lots of pods or flowers and collect in a container, then let them dry fully – which may take a few days. It’s preferable to leave the seeds on the plant until they’re mature and almost fully dry – but if you think it’s about to rain or you need to free up garden space, pull them off the plant at the last possible minute.

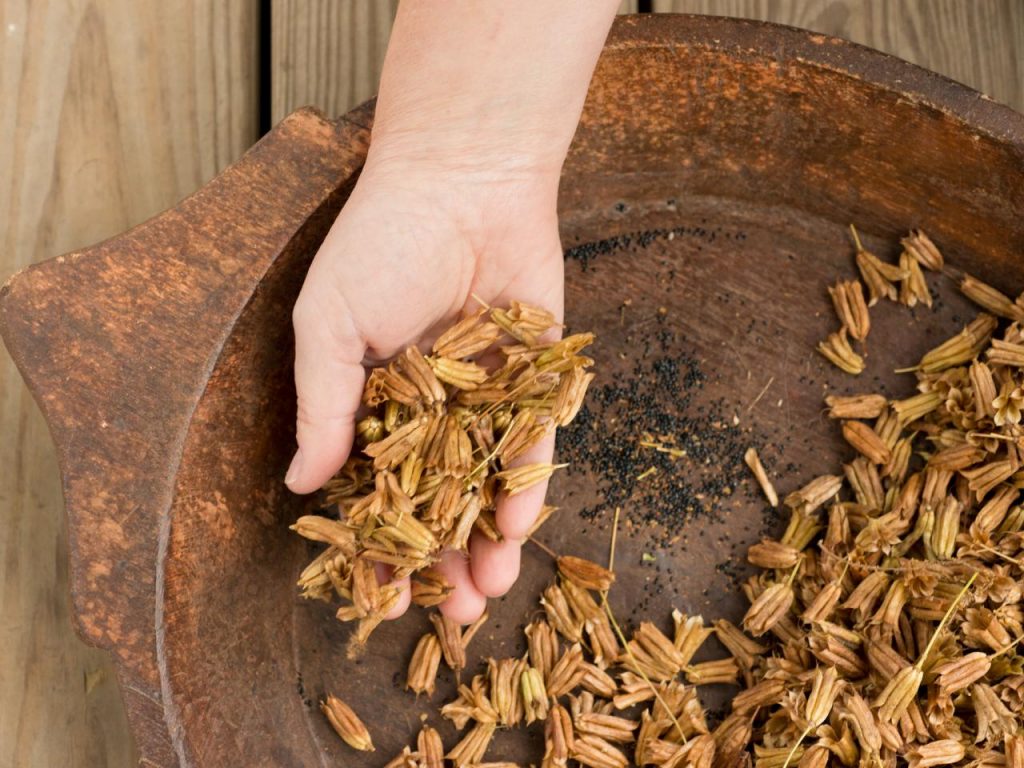
Then get to work separating the seed from its husk and any other plant debris. For large seeds such as beans, this could mean simply using your fingers to pull out the beans, or you could lay them all on a tarp on the ground and stomp on them. For fine seeds such as celosia, it’s a more delicate process of rubbing your hands together, letting the seeds fall into your container and the husks and debris float away with the wind. Here’s a great article on more ways to clean your seeds (known as threshing and winnowing).
Harvesting and Cleaning: Wet Seeds
For wet seeds such as tomatoes, many squashes, and eggplant, the process is a bit more complicated. We’ll use squash as an example. Cut open the squash and scoop out the insides with your hand, then throw all the innards into a big bowl and fill the bowl with water. The good, healthy seeds will sink to the bottom and the gook and deal seeds will float to the top. Carefully pour off most of the water, being sure to leave the seeds that have sunk to the bottom, and repeat the process a few times until you have isolated just clean, healthy seeds.
The next step is to dry the seeds. Use a strainer to get rid of excess water, and then dry the bottom of the strainer with a towel. You then want to set the seeds in a single layer on a piece of glass or ceramic flat surface. If kept in the cool and dark, they should be dry within a few days.
Many wet seeds, tomatoes included, need to undergo fermentation before you can store the seeds. Here’s a great article on this process.
Storing Dry and Wet Seeds
The final step is storage. Although some seeds need extra care, most of them will store fairly easily if you make sure they are dry enough before going into storage. When in doubt, dry them for a little longer.
Place your seeds in airtight containers such as mason jars or Tupperware. This will not only help regulate moisture, but will also keep out bugs that would love nothing more than to feast on your gorgeous seeds. Then, store somewhere cool and dark – the fridge is great, as is a basement room or a closet.
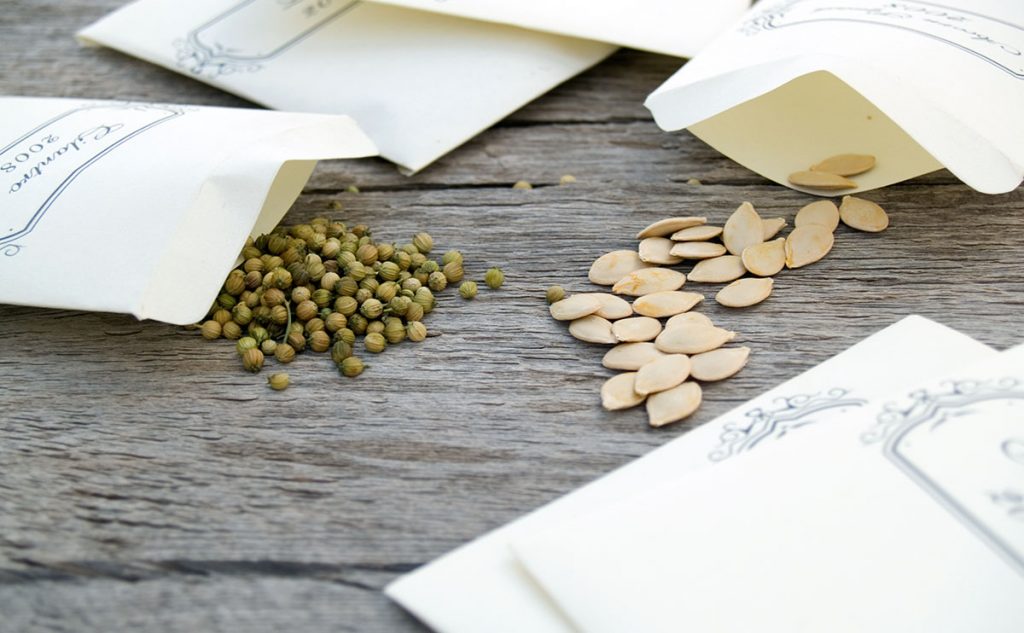
And voila! Make sure to date and label your seeds, and most will last anywhere from 1 – 3 years. Next year, grow and repeat!


 Family

