Growing Cover Crops
Farmers have long been sowing cover crops in their fields to promote healthy soil, and it’s time to bring this practice to home gardens! Cover crops are, quite simply, plants that you grow with the express purpose of feeding your soil. Growing cover crops is a great alternative to letting your soil ‘rest’ or leaving it fallow for a season. Depending on where you live and the time of year, there are a few different cover crops to choose from, and it’s easy to try them out.
Benefits of Growing Cover Crops
- Fix nitrogen. Depending on what you use, many cover crops are chosen specifically to take nitrogen in your soil and convert it to a form that is ready and usable by subsequent food crops.
- Add air space. Cover crop roots are able to penetrate multiple layers of soil.
- Prevent erosion. If you are on a hillside, this is key!
- Break up subsoil. Over time, growing cover crops with deep roots will act to loosen deep hard layers of soil, improving your soil for plants and lessening the need for elbow grease on your part.
- Add organic matter. Cover crops grow big and tall and can be incorporated right back into your soil – this is why they are often referred to as ‘green manure’.
- Out-compete weeds. This is key on my farm, where we are unfortunately rich in weed seed in the soil (known as the ‘weed seed bank’). Encourage quickly-geminating cover crop seed instead!
Growing Cover Crops in the Winter
The majority of organic growers these days seem to use a mix of bell beans, oats, peas, and vetch in their winter cover crop mix. You can seek out these ingredients separately or buy them as a mix. Here in Northern California, people usually sow the seeds anywhere from mid-September to mid-November, and they will germinate within a matter of weeks depending on your soil moisture (the more you can keep you soil surface moist, the more quickly the seeds will germinate).
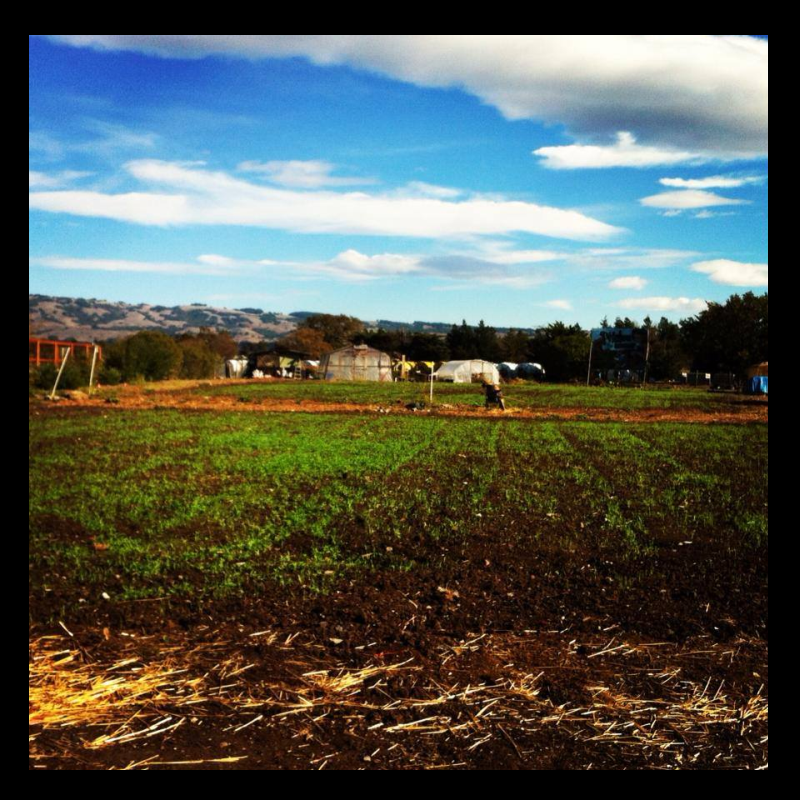
Growth will be slow and consistent throughout the winter, with periods of accelerated growth following excessive rainfall or warm temperatures. You may have to water your cover crop a few times over the winter – we opt for overhead irrigation in the morning about 2 or 3 times after initial sowing. But the great thing is that you can almost just forget about your cover crop.
Sow it, let it grow, water it a few times if there is no rain, and in the spring you’ll be happy with a few feet of growth ready to be tilled or dug into your soil.
Growing Cover Crops in the Summer
Summer cover crops are great because they grow more quickly due to hot temps, but they also can be a bit more high maintenance as they will certainly require water in typical summer weather. Great options for summer cover crops include flowering buckwheat and sudan grass. I will cover these options more thoroughly in a later post.
You can choose to employ summer cover crops, winter cover crops, or both. I tend to focus more on winter cover crops because I feel I can get more bang for my buck, but if I have extra space in a field or garden during the summer and at least a month or so, I very well may stick a quick summer cover crop in the ground – my favorite being buckwheat as it’s so fast-growing and relatively low-maintenance.
How to Grow Cover Crops
Step 1: Figure out what you need and how much of it, buy it, and prepare it. I recommend a mix like the Soil Builder mix. This will need to be inoculated, with a type of bacteria called Rhizobium. I know, it sounds over my head too, but stay with me here. Basically, these bacteria live on the roots of the plants and really allow your legumes to do their nitrogen fixing thing. Your soil probably doesn’t contain enough of them (neither does mine, by the way), so you just need to buy some and mix it into your cover crop right before sowing. No. Big. Deal.
Step 2: Sow the seed. After you have cleared your ground of plants and tilled the soil or loosened it with a digging fork or spade, you can broadcast sow, that is, scatter by hand, the mix at a rate of about half a pound per 100 square feet. Or a hefty handful per garden bed or box. Aim to cover the seed lightly with soil so that it is buried about 2 inches deep – this can be done by loosely ‘chopping’ the soil with a rake to roughly incorporate the seed.
Step 3: Water it in if no rain is predicted, especially if you are getting it into the ground rather late.
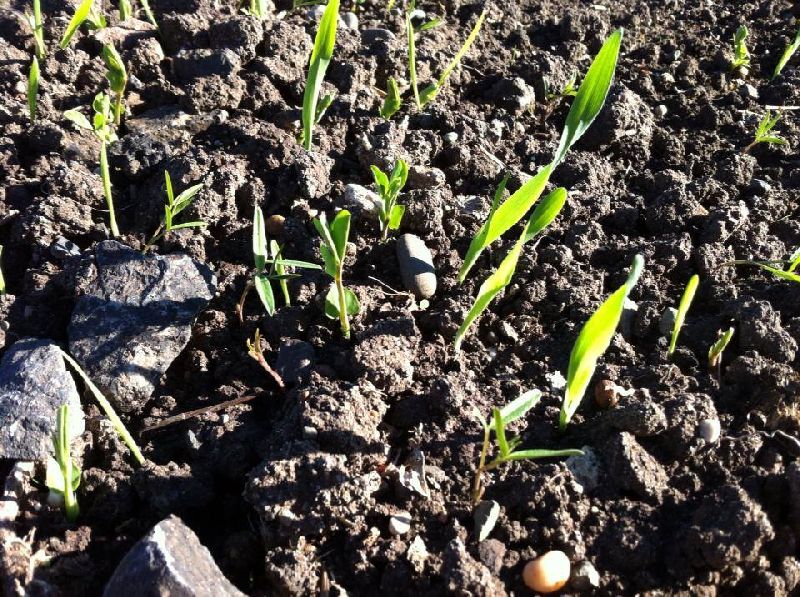
Step 4: Watch it grow! Show it off! Try to identify the different plants as they sprout!
Step 5: Once about 50% of the mix is in flower and once your ground is no longer sopping wet from winter, which should be sometime in March or April, cut down your cover crop. You can do this with a sharpened shovel, shears, or a mower.
Step 6: Decide what to do with all that biomass! At the Bounty, we mow the cover crop down and then turn it right back into the soil with a rototiller or disc on the tractor. You can simulate this practice at home by mowing the cover crop down and then turning it into the soil with a shovel so that there is at least a thin layer of soil on top of your mowed crop – you are essentially flipping the top layer of soil upside down. But you can also mow your cover crop down, rake it into a pile and use the greens as a great start for a compost pile.

I’ll talk more about composting at home in one of my upcoming posts, but for now, sow some cover crop!
 Family