How to Guide for Making Compost at Home
The great thing about making compost at home is that you can do it any time of the year! You can save up materials, gather some more from your neighbors, and get a ton going at once, or you can slowly make compost piles by adding to them incrementally over time. Whatever your lifestyle or time constraints, there’s a great way out there for you to make compost.
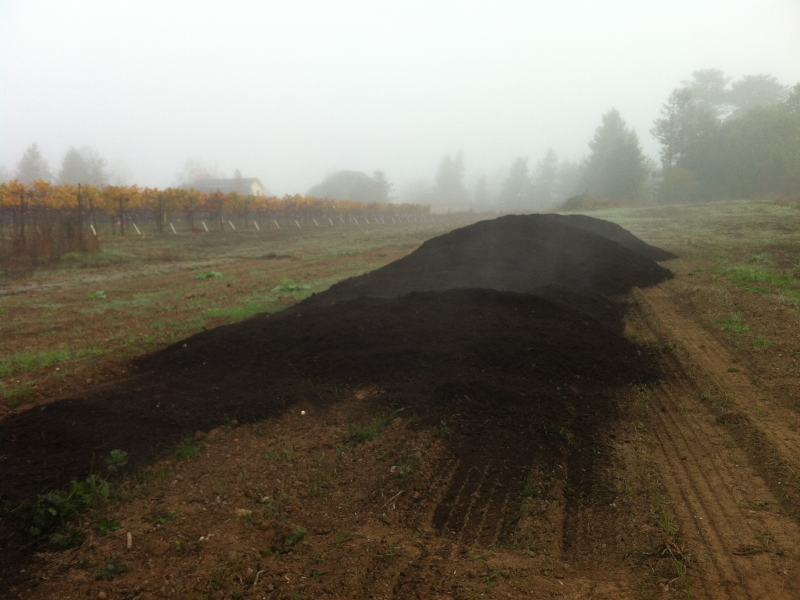
There are about as many cool compost-making gadgets and gizmos out there as you can imagine; and while they are all great, the truth is that you don’t really need any of them. I’m going to focus on one time-tested approach to making compost at home and give detailed steps on how to construct a small, easy, hot compost pile. Late fall is a perfect time to get this going as you clear your garden and lawn of plant debris, leaves, and weeds.
Ingredients for Making Compost at Home
Compost is easy and forgiving. Theoretically, if you threw any of the below ingredients together in a heap outside and let them sit for long enough, they would eventually break down into a rich compost that you could spread on your garden. The method below just ensures a more successful pile that will break down more quickly.
Speaking of ingredients, you’re looking for a proper mix of carbon and nitrogen. Without going into too much detail, each of the below ingredients has its own carbon to nitrogen ratio. Your pile overall will perform best at about a 30:1 carbon:nitrogen ratio (this ratio is found almost exactly in horse manure mixed with straw, or in mixed weeds). For our purposes, it’s enough to remember that you should make your pile with about half of it’s materials from the ‘greens’ category, and half from the ‘browns’. You’ll get pretty close to that perfect ratio by doing so.
Greens for Making Compost at Home
Your green materials will be those rich in nitrogen. They usually contain a lot of moisture, and have just begun to breakdown. There is no need to worry about which of these you have or don’t have – it’s a forgiving system! Use what you have on hand.
- Grass Clippings
- Fruit/Vegetable Scraps
- Spent Crops From The Garden
- Coffee Grounds
- Green Weeds From The Garden
- Chicken Manure
Browns for Making Compost at Home
Brown materials are usually fairly dry and contain a lot of carbon. Again, a wide variety of ingredients, textures and chunk sizes will certainly help your compost pile break down more quickly, but whatever you already have at your disposal will work just fine.
- Leaves
- Straw
- Dried/Dead Weeds
- Dried/Dead Crops
- Sawdust
- Newspaper
What Not To Use When Making Compost at Home
- Weeds that have set seed
- Weeds with strong, rhizomous roots (think Bermuda Grass)
- Visibly diseased plants
- Meat or dairy
10 Easy Steps for Making Compost at Home
Step 1: Find a good spot. Under a tree is great if you’re expecting a lot of hot sun, and somewhere fairly level with the rest of your yard is best to prohibit runoff. Loosen up the ground soil a bit before you start your pile.
Step 2: Envision how much space your pile will take up and outline it with sticks or the back of a shovel. It’s great to build a square pile about as tall as it is wide – 3x3x3 is optimal if you have enough materials.
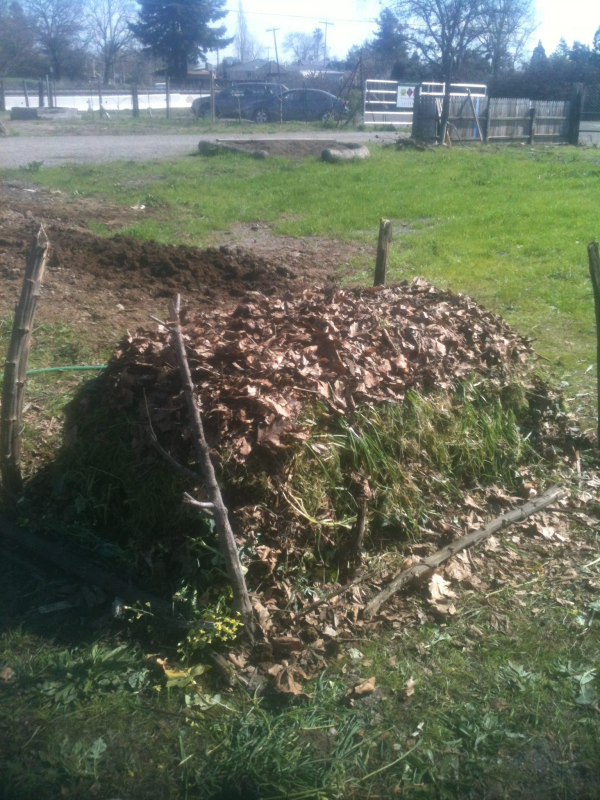
Step 3: Make your first layer out of brown materials. You can make the layer as thick as you want, anywhere from 3-6”, just be consistent throughout the pile. If your material is in really big pieces (i.e. tall weeds), cut or rip them apart first to help ensure they will break down more quickly.
Step 4: Water the brown layer with a hose, and continue to do so after each brown layer. You pile needs to be moist in order to break down quickly – aim for it to feel like a wrung-out sponge.
Step 5: Now make your greens layer, aiming for the same thickness as your browns layer.
Step 6: Add a thin layer (a sprinkle or 1”) or your own garden soil, or finished compost.
Step 7: Repeat steps 3 – 6 until your pile is about 3’ tall or until you run out of materials.
Step 8: ‘Cap’ off your pile with one last layer of brown material.
Step 9: After about 3 weeks to a month, your pile will have heated up considerably and then cooled down again. Now it’s time to add oxygen back into your pile so that the microorganisms have something to feed on and can get back to work. This can be done by ‘turning it’ – simply moving the whole pile a few feet away from where it began, making sure to mix the ingredients a bit as you go, or taking the outside edges, shoveling them off into a heal, and then taking the inside ‘donut hole’ of your original pile and using it to form the new outside edges of your moved pile.
Step 10: If you’re expecting a rainy season, throw a tarp over your pile to keep it from getting too wet.
Voila! Your compost pile will be well on its way, and you can expect for it to be usable in your garden in about 2-4 months. Material will be ready to use sooner if you come back and turn it every few weeks.
Next time on the blog I’ll be talking about how to build your own small greenhouse at home. Until then, get composting!
 Family