Grab N’ Grow’s Guide to Growing Dahlias
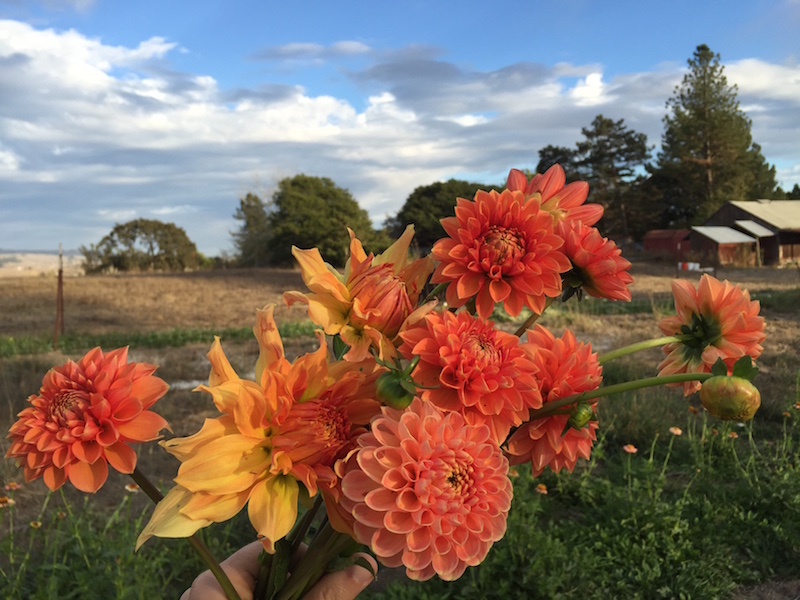
Do you remember when you fell in love with growing dahlias? I have to say, there was a time when I just didn’t get it. Perhaps it was my cold New England puritan soul, but I just found them to be over the top. Too absurdly fluffy and decadent and just easy – I worked large weddings where dahlias were simply placed in little bottles and voila: the florists work was done.
But oh how the years have changed me. I now plant more and more dahlias every year, anxiously await the first blooms (there was one today!), and curse couples getting married outside the months of July – November because they won’t get to use these beauties.
They’re sort of my everything.
You too can be rich in dahlias. While they’re fragile and precious, growing dahlias is actually not that hard.
Step 1: Get your tubers.
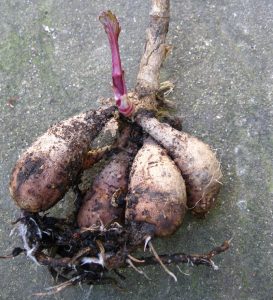
There are SO many varieties of dahlias out there – I suggest just looking at some online catalogues and finding some that look interesting to you. Go for a variety of shapes, sizes, and colors and you can’t go wrong.
The gold standard of suppliers is Swan Island Dahlias– while not the cheapest option, they have a huge variety and produce really quality tubers.
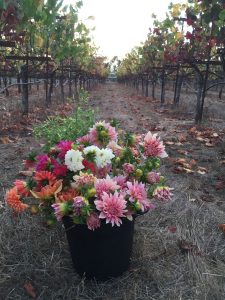
If you’re just dabbling and want a few dahlia plants for the yard, I would recommend getting at least three. If you have more space, get more! You won’t regret it.
It’s best to wait until the soil warms a bit to plant and start growing dahlias. The beginning of June is a great bet!
Step 2: Prep your soil.
If this blog has taught you anything, it’s that you need to take care of your soil. As always, make sure to wait until the ground dries down, add compost, mix it in, and give yourself a nice lofty bed to work with.
Step 3: Plant your dahlias.
Once your soil is ready, get to digging some holes. They only need to be about 4 – 6” deep, and since dahlias don’t have extensive root systems, the holes don’t need to be too big – just about 6” circumference or whatever your shovel ends up doing. They’re really not that picky. The holes should be about 12 to 18” apart – just make sure there’s plenty of room to walk about the plant for harvesting the abundant blooms!
Lay the tuber down sideways in the hole. If it’s already sprouted, lay the tuber sprout side up. Really the shoots will find their way up no matter which way they’re facing. You can’t go wrong. There’s no need to water them at the time of planting, and in fact, it may rot the tuber. Hold off on watering until, the sprouts bust out of the ground.
Step 4: Stake ‘em and watch ‘em grow.
If your soil is good, your growing dahlia plants may get too tall to support themselves, so staking them is necessary. There are about a million ways to do it.
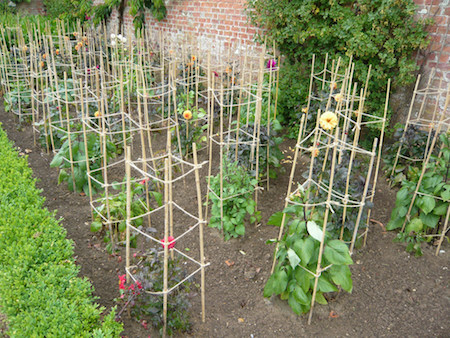
You can support each plant with a tomato cage, tie lines of string snugly up along either side of plants, or pound one stake in the ground for each plant and tie the plant to it at intervals as it grow.
Once the dahlias have sprouted above ground, you should start watering them deeply and thoroughly every couple of days. If it’s really hot, give them more water. As long as your soil has good drainage, a little extra water won’t hurt them but they could suffer from lack thereof.
Dahlias won’t need much in the way of supplemental fertilizer – but I aim to spray mine with fish/kelp solution a couple of times while they’re growing before they start to bloom.
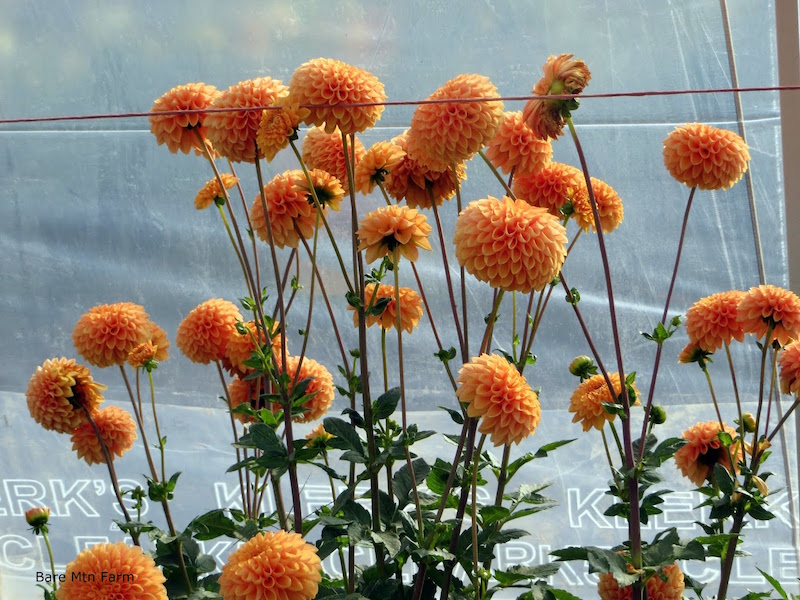
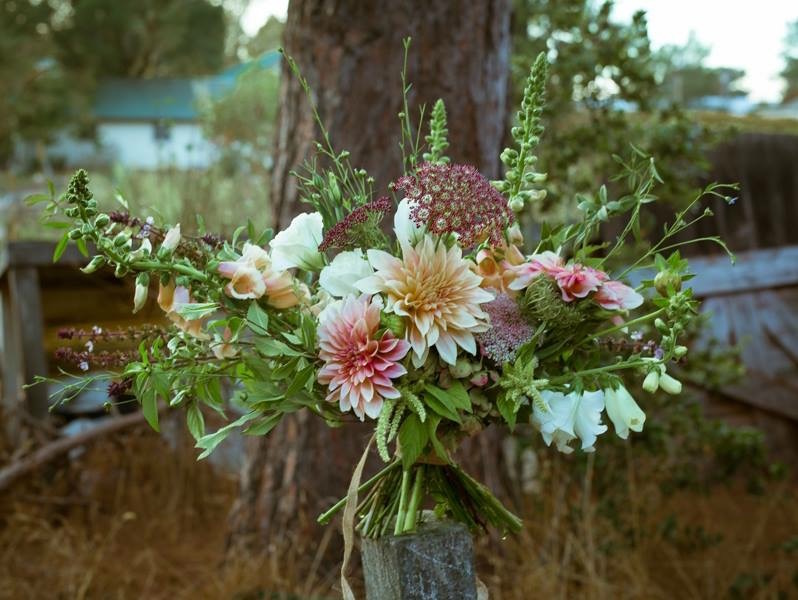
Step 5: Harvest them – correctly.
The dahlias should start blooming about 6 – 8 weeks after you plant them, depending on the weather. If you want the plant to keep producing lots of flowers, you need to cut often. Don’t be afraid. If you cut short stems, the plant will keep producing short stemmed flowers. If you want long stems, cut long stems.
It’s best to harvest growing dahlias either first thing in the morning or late in the evening when it’s not so hot out. Place them right into a bucket of deep water to let them rehydrate. These tips will help your flowers last a long time in the vase.
Step 6: Dig ‘em up and store ‘em.
In many climates, you can leave dahlias in the ground all through the winter. Here in the North Bay with mild wet winters, there’s a good chance they’ll rot in the ground depending on your location. It’s worth a try, but if you want to ensure success, dig them up after the first frost.
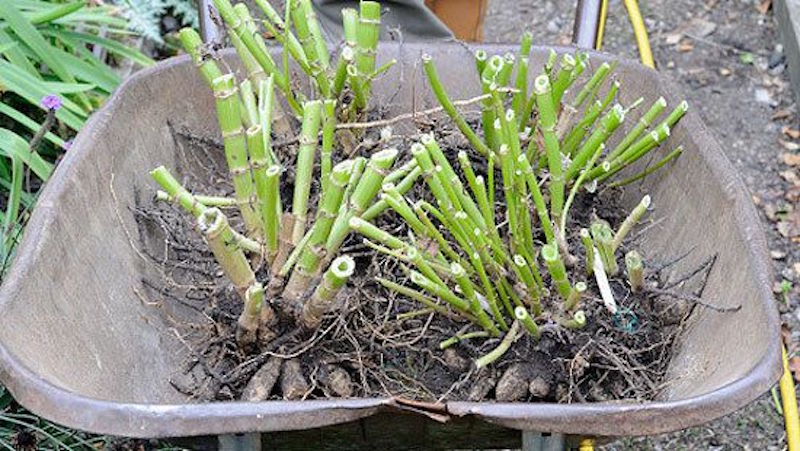
It’s a good idea to cut the stalks down to about a foot high and leave them that way in the ground for about a week before digging – that way the tuber gets fed before being lifted.
To store the dahlia tuber, let it air dry for a couple of days and then pack it lightly in a milk crate or vented box with some wood chips. Store it in a dark cool place and then examine it in the spring to see if you want to replant as is or divide into multiple tubers.
And then, my friends, look forward to next year!
Well there you have it – let me know how it goes! Next time on the blog we’ll be talking all about dry beans – what they are, how and why to grow them, and some of my favorite varieties. Until next time!
 Family